
Plans and elevations
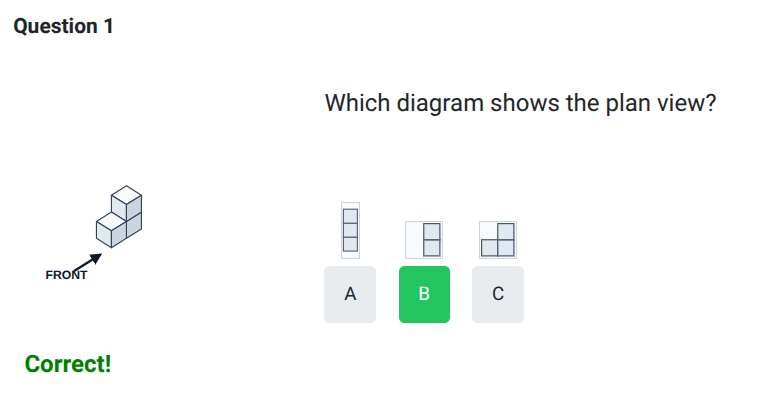
Plans and elevations are flat, 2D drawings used to represent 3D objects accurately. The plan is the view from directly above, while elevations show the view from the front or side. By combining these different views, you can clearly communicate the exact shape and proportions of a solid. Jump to the questions
Practise now
Worksheet preview and key skills
This worksheet provides practice visualising 3D objects as 2D projections. You will start by identifying views before moving on to drawing the plan, front, and side elevations of various solids on a grid. The interactive worksheet appears below.
- Recognise plan, front and side views.
- Draw elevations of cube structures.
- Use more than one view to identify a solid.
- Interpret elevations of simple prisms.
If you are not sure how to get started, review the Topic guide.
Plans and elevations
Practise identifying and drawing the plan, front, and side elevations of 3D solids.
Topic guide
What are plans and elevations?
In mathematics and engineering, it is often necessary to represent a 3D solid on a flat piece of paper. We do this by drawing 2D projections called plans and elevations. Unlike a perspective sketch, an elevation is a completely flat, head-on view of the object that shows its exact proportions without showing any depth.
The three common views
- Plan: The view from directly above. It shows the footprint of the object.
- Front elevation: The view looking directly at the front of the object. A directional arrow is usually given to define which face is the front.
- Side elevation: The view looking directly at the side of the object. Again, an arrow will indicate which side (usually the right) is being viewed.
How to draw an elevation from cubes
When drawing elevations of structures made from centimetre cubes, imagine you are shining a light directly onto the shape and tracing its shadow onto a flat wall behind it.
- When looking from above (Plan): A vertical stack of cubes will only look like a single square from above, because the cubes underneath are hidden. Your plan view shows the exact shape of the base footprint.
- When looking from the front or side (Elevations): You must record the greatest visible height in each column. Hidden depth is never drawn as depth. If one stack is three cubes high and the stack behind it is only one cube high, the elevation will simply show a rectangle three cubes high.
Worked example
Imagine a structure made of three cubes: two cubes placed side-by-side on the ground, and a third cube stacked on top of the left one.
- Plan: Viewing from above, you see two squares side-by-side (a 2×1 rectangle). The extra height on the left is hidden.
- Front elevation: Viewing from the front, the left column is two squares high and the right column is one square high. This looks like an L-shape.
- Side elevation (from the right): Viewing from the right side, the rightmost block is one cube high, but it does not hide the two-high stack behind it. Therefore, the side elevation is a vertical rectangle two squares high and one square wide.
Using more than one view
One individual view is rarely enough to uniquely identify a solid. For instance, a cylinder and a rectangular cuboid can both have a rectangular front elevation. You often need the plan, front, and side views together to determine exactly what the 3D object looks like.
Common mistakes
- Drawing 3D perspective: Remember that plans and elevations are strictly 2D flat grids. Do not draw diagonal lines to show depth.
- Assuming the front direction: Always check the arrow that states the viewing direction. The "front" could be defined from an unexpected angle.
- Adding hidden edges: For simple elevations in GCSE maths, you only draw what is visibly forming the outer silhouette from that specific angle.
Quick recap
The plan is the view from above, showing the footprint. The front and side elevations are flat views that show the maximum height at each position without any depth. Pay close attention to viewing arrows, and remember that vertical stacks only take up one square on the plan view.